

Hack: The Light-Box Project
We’ve all seen light-boxes at retail stores, art exhibits and in the house. They’re beautiful display pieces that can be used for all types of purposes. For our prototype, we wanted to accomplish two tasks: (1) Lighten up the enclosed area and (2) Highlight our product in an elegant manner. Our Design Lead, Ivan, took on the task of building one as a DIY project!
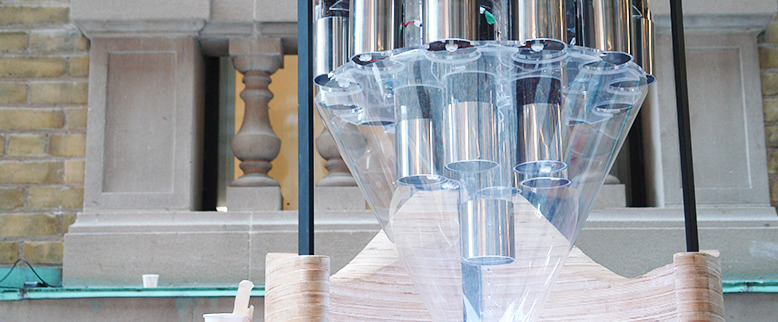
How to start? Figure out the size that you want, quickly calculate your dimensions and know what you’re putting on the box! teaBOTTM (BETA) is a heavy beast and knowing that, we factored in some structural reinforcement – a lattice structure in the centre and wooden support columns.


Next, purchase stock 1/8″ acrylic (plexiglass) sheets and send them off to get laser cut. Laser cutting acrylic is a common practice and these services can be found easily in the city. The only thing left is to get some white LED lights and lay them flat along the base of the box.

To get that diffused glow, use white acrylic for the outer shell. Working with a box form factor is the easier route, but our table was oval which meant we had to heat treat the acrylic to make it curve.


Use a heat gun and run it lightly over the flat piece and curve it as it softens. Make sure the gun is constantly moving, localized heating can cause it to deform rapidly! Using a C-clamp really helps the process along and can hold the acrylic in place. Multiple passes of the heat gun is highly recommended. Once done, light it up and enjoy!


